7 Best Ways to Organize Your Projects in Asana From Scratch (2026)
I’ll be honest: the first time I opened a fresh Asana workspace with nothing but a blinking cursor and a blank project template, I felt a mild panic. That empty white space is somehow inviting and terrifying at the same time. You’re supposed to be productive, but all you see is an infinite grid of possibility—and zero structure. I tried adding tasks as they popped into my head, which worked for about a day. Then I had a flat list of 47 tasks with no sense of order. That’s when I realized: starting from scratch doesn’t mean starting without a plan. These seven methods are the exact framework I now use every time I set up a project, and they’ve saved me from that sinking feeling of digital chaos. Let’s dive in.
Why Starting From Scratch in Asana Feels Overwhelming (and How to Fix It)
If you’ve ever stared at a blank Asana project and felt your brain short-circuit, you’re not alone. The problem isn’t that Asana is hard—it’s that a blank slate gives you no guardrails. Without a team history, templates, or established workflows, every decision feels like it matters too much. Should this be a section or a tag? Do I start with List view or Board view? What if I mess up the structure and have to redo everything?
Here’s the fix: treat your first few minutes as a design sprint, not a data entry session. Instead of adding tasks, write a one-sentence goal for the project in the Description field. That sentence becomes the north star for every task, section, and field you add later. I once spent 15 minutes just writing that single sentence for a product launch project—and it saved me hours of rework because every task I added clearly aligned with that goal. The overwhelm comes from lack of clarity, not lack of features.
Method #1 – Define Your Project ‘Purpose’ Before You Create a Single Task
Before you click “Add Task,” use Asana’s Project Brief and Description fields like a project charter. This is where you lock in scope, goals, and stakeholders. I learned this the hard way: I once started a website redesign project by adding tasks for everything—content updates, design tweaks, SEO fixes. Two weeks in, my manager asked, “What’s the actual goal here?” I had to pause the whole thing and rewrite the purpose, which meant reorganizing 80 tasks.
Here’s my current ritual:
- Project Brief: Write a 2–3 sentence summary of what success looks like. Example: “Launch a new landing page for the Q3 webinar series that drives 500 registrations within 30 days.”
- Description: Add key stakeholders, deadlines, and any constraints (budget, tools, dependencies).
- Use the Description as a living document: Update it when scope shifts—don’t let it become stale.
This single step—taking 10 minutes to define purpose—turned my chaotic task list into a coherent project skeleton. Tasks now have a clear home, and I can quickly decide if a new request actually belongs here or deserves its own project.
Method #2 – Use Sections as ‘Phases,’ Not as Task Buckets
One of the most common mistakes I see (and made myself) is using Sections as random categories—like “Urgent,” “To Do,” “In Progress,” “Done.” That’s a board view, not a project structure. Sections should represent workflow phases, not statuses. Think: Research, Design, Development, Review, Launch.
When I switched to phase-based sections, everything clicked. Here’s why:
- It makes the project timeline visible. You can see at a glance which phase has the most tasks and where work is piling up.
- It’s logical for new team members. Anyone can look at the section list and understand the project flow without asking questions.
- It works across views. In List view, you see a linear progression. In Board view, each section becomes a column that naturally represents a stage.
I once managed a content calendar where I had sections like “Drafting,” “Editing,” “Design,” and “Published.” Simple, clear, and anyone could jump in and know exactly what stage a task was in. No more “Where does this go?” conversations.
Method #3 – Build a ‘Task Template’ for Repetitive Work Types
If you find yourself creating the same type of task over and over—say, a weekly report or a client onboarding checklist—stop building from scratch each time. Asana lets you create task templates within a project. Here’s how I do it:
- Create a task with all subtasks, descriptions, attachments, and assignees already filled in.
- Rename it something like “TEMPLATE – Weekly Report (do not assign).”
- When you need a new instance, duplicate that task and update the due date.
For a client onboarding project, I built a single template with 12 subtasks (send welcome email, schedule kickoff call, share access, etc.). Every new client got a duplicated version of that template. It saved me about 20 minutes per client—and reduced errors because I never forgot a step.
Pro tip: You can also save entire projects as templates from the project menu. That way, new projects come with sections, custom fields, and automation rules pre-loaded.
Method #4 – Leverage Custom Fields to Slice Your Data Any Way You Want
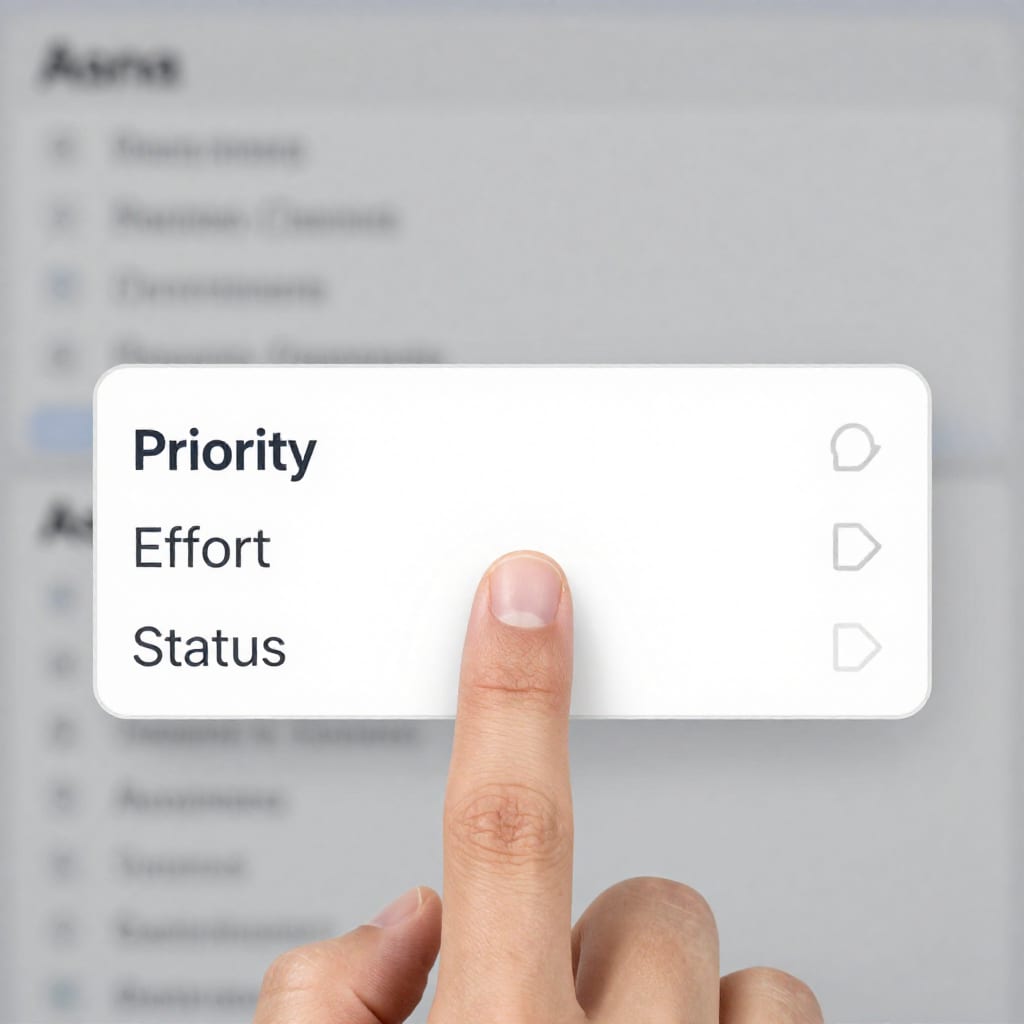
Custom fields are Asana’s superpower, but they’re easy to overcomplicate. Start with 2–3 fields that matter most. My go-to trio:
- Priority: Low / Medium / High / Critical
- Status: Not Started / In Progress / Blocked / Done
- Effort: Small / Medium / Large (or a numeric estimate in hours if you’re detailed)
Once those are set, you can filter by priority to see only critical tasks, sort by effort to find quick wins, or create a custom report in Portfolios. The key is to keep field values consistent across projects so you can compare apples to apples. I learned this the hard way when I had “Priority (1-5)” in one project and “Priority (High/Medium/Low)” in another—total chaos when I tried to roll them up.
For a marketing launch project, I added a “Channel” field (Email, Social, Blog, Paid). Suddenly I could filter by channel and see all tasks for each channel in one view. That simple addition made cross-functional coordination far smoother.
Method #5 – Map Dependencies Before You Assign a Single Task
If your project involves handoffs—like design needs copy before they can start, or QA can’t begin until development is done—Asana’s task dependencies are your best friend. I used to assign tasks in a flurry and then realize later that Task B couldn’t start because Task A wasn’t even created yet.
Here’s the workflow I follow:
- Create all major tasks first (don’t worry about order).
- Identify which tasks block others. Click the task, go to the “Dependencies” tab, and set “Waiting on” or “Blocking” relationships.
- Switch to Timeline view. Asana will automatically adjust dates based on dependencies—so if Task A slips, Task B’s due date shifts too.
In a product launch project, I had 15 tasks with dependencies. Setting them up upfront took 20 minutes, but it saved me three frantic rescheduling calls when one deliverable was delayed. Dependencies turn a static list into a dynamic schedule.
Method #6 – Embed a ‘Project Scorecard’ With Custom Fields and Portfolios
Once you have a few projects running, use Asana’s Portfolio view to see the health of everything at a glance. Create a Portfolio and add all related projects (e.g., “Marketing Q1 Initiatives”). Then add custom fields like “Health” (On Track / At Risk / Off Track) and “Status” (Active / On Hold / Complete).
I set up a weekly ritual: every Monday, I update the Health field for each project based on whether it’s on schedule, blocked, or ahead. Then I check the Portfolio view. If I see three projects at “At Risk,” I know where to focus that week. This replaced the chaotic “let’s check every project individually” habit.
For a client services team, I once built a Portfolio with 12 projects, each with a Status field (Active, On Hold, Complete) and a Priority field. The operations manager could see at a glance which projects needed attention—and which could wait. It’s like a dashboard for your entire workload.
Method #7 – Set Up Automation Rules That Keep the Project Clean for You
Manual upkeep kills productivity. Asana’s no-code automation rules can handle the boring stuff. Here are three rules I use in almost every project:
- Auto-assign tasks: When a task is added to a specific section, automatically assign it to a team member.
- Auto-move completed tasks: When a task is marked complete, move it to a “Done” section at the bottom of the project.
- Auto-flag overdue tasks: If a due date passes and the task is still open, flag it so nothing slips through.
I once managed a content production project with 40+ tasks per week. I set up a rule: when a task entered the “Published” section, it automatically marked as complete and moved to an archive. That single rule saved me 10 minutes of manual housekeeping every day. Automation isn’t just cool—it’s necessary for maintaining order.
Frequently Asked Questions
What's the first thing I should do when creating a new project in Asana from scratch?
Write a clear project brief in the Description field—define the goal, scope, and key people involved. This becomes the anchor for every task you add later.
Should I use List view or Board view to organize my projects?
Both work, but start with List view for task-heavy projects (easier to see all tasks in order) and Board view for visual workflows like content calendars or kanban-style processes.
How many custom fields do I really need for a basic project?
Start with 2–3: Priority (Low/Medium/High), Status (Not Started/In Progress/Done), and maybe Effort (Small/Medium/Large). Too many fields can clutter the view.
Can I reuse a project structure without copying everything manually?
Yes—save a project as a Template from the project menu. Then any new project can start from that template, preserving sections, tasks, custom fields, and automation rules.
How do I handle projects that change scope mid-way without losing organization?
Add new sections for the new phase, use dependencies to adjust the timeline, and update the project brief. Avoid deleting old tasks—move them to an 'Archived' section instead.
The Takeaway
Organizing your projects in Asana from scratch doesn’t have to be a source of anxiety. The trick is to spend a few minutes designing the structure before you start adding tasks. Define your purpose, use sections as phases, build reusable templates, add a handful of custom fields, map dependencies, link to Portfolios, and turn on automation. Once you’ve done that, the project practically organizes itself.
If you try even two of these methods on your next blank project, I promise you’ll feel that shift from overwhelm to clarity. And if you want to take it further, check out our guide on automating your Asana workflows for a stress-free week or see how Asana compares to alternatives in Asana vs Monday.com: Which project tool is right for your team in 2026. For deeper dives, explore the best custom field setups for marketing teams and how to use Asana Portfolios to manage multiple projects at once.
For official guidance, refer to the Asana official guide on project setup and templates. And for a broader perspective on project management methodologies, the Atlassian comparison of Waterfall vs Agile offers useful context.